We all head out for a trip expecting the best...months of planning, organizing itineraries, and dreaming about a destination. But it's also important to prepare for the worst. Today, I am starting to pull together my Travel First Aid Kit, for our trip to Cuba, and I thought I'd share what and how I pull together the things I hope I will never need!
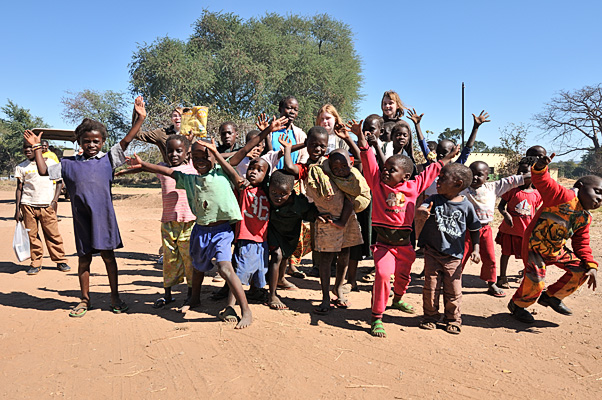
Our trip to Zambia included a village visit and time in the bush, which required some medical planning in advance.
I cannot advise anyone about anything medical because not only am I not a doctor (and never played one on TV) but I’m also not YOUR doctor…only your doctor can determine what YOU need to bring along on a trip, and I highly recommend finding an excellent travel medicine physician or nurse if you plan to travel out of the country, especially in the developing world. Not only will this professional know what things you’ll need (and don’t really need) but they have the skills to sort out any unusual illness that might come up in the rare event that you come back with something uncommon.
Step 1 is a visit to a qualified travel medicine professional.
To find a great travel health professional, I recommend asking a well traveled friend or calling a local adventure travel agent and asking who they use before a trip. I try to do this about 3-4 months before traveling, so I have time for any vaccination series or prophylactic medication I might need. I’ve got a great travel medicine provider who has the latest updates on illnesses and prevention of them in the destinations where I’m headed. They understand the realities of developing nation medical care and are usually happy to provide you with “just in case” things, like antibiotics, that your general practitioner is rightly reluctant to prescribe. I’ve also saved money and discomfort by having a pro that recognizes that I probably don’t need a rabies vaccine to travel to countries where that illness is endemic if I plan to be on a cruise ship and not out in the bush. To be prepared for your appointment, be sure to bring along your whole itinerary, with every country and the activities you’ll be doing, as well as your own medical history and list of medications. Extended exposure to people or animals in volunteer trips requires different action than a tour with a tour group which might have more limited exposures to the public and wildlife. The travel medical pro can best advise what you need and what you can do without, to keep you healthy!
My travel nurse suggested this CDC website for general food safety guidelines.

Step 2 Build a travel first aid and medical kit.
I’ll share how I’ve built my own medical kit, to give an idea about how to get started assembling the things you might need after your appointment with your own medical professional.
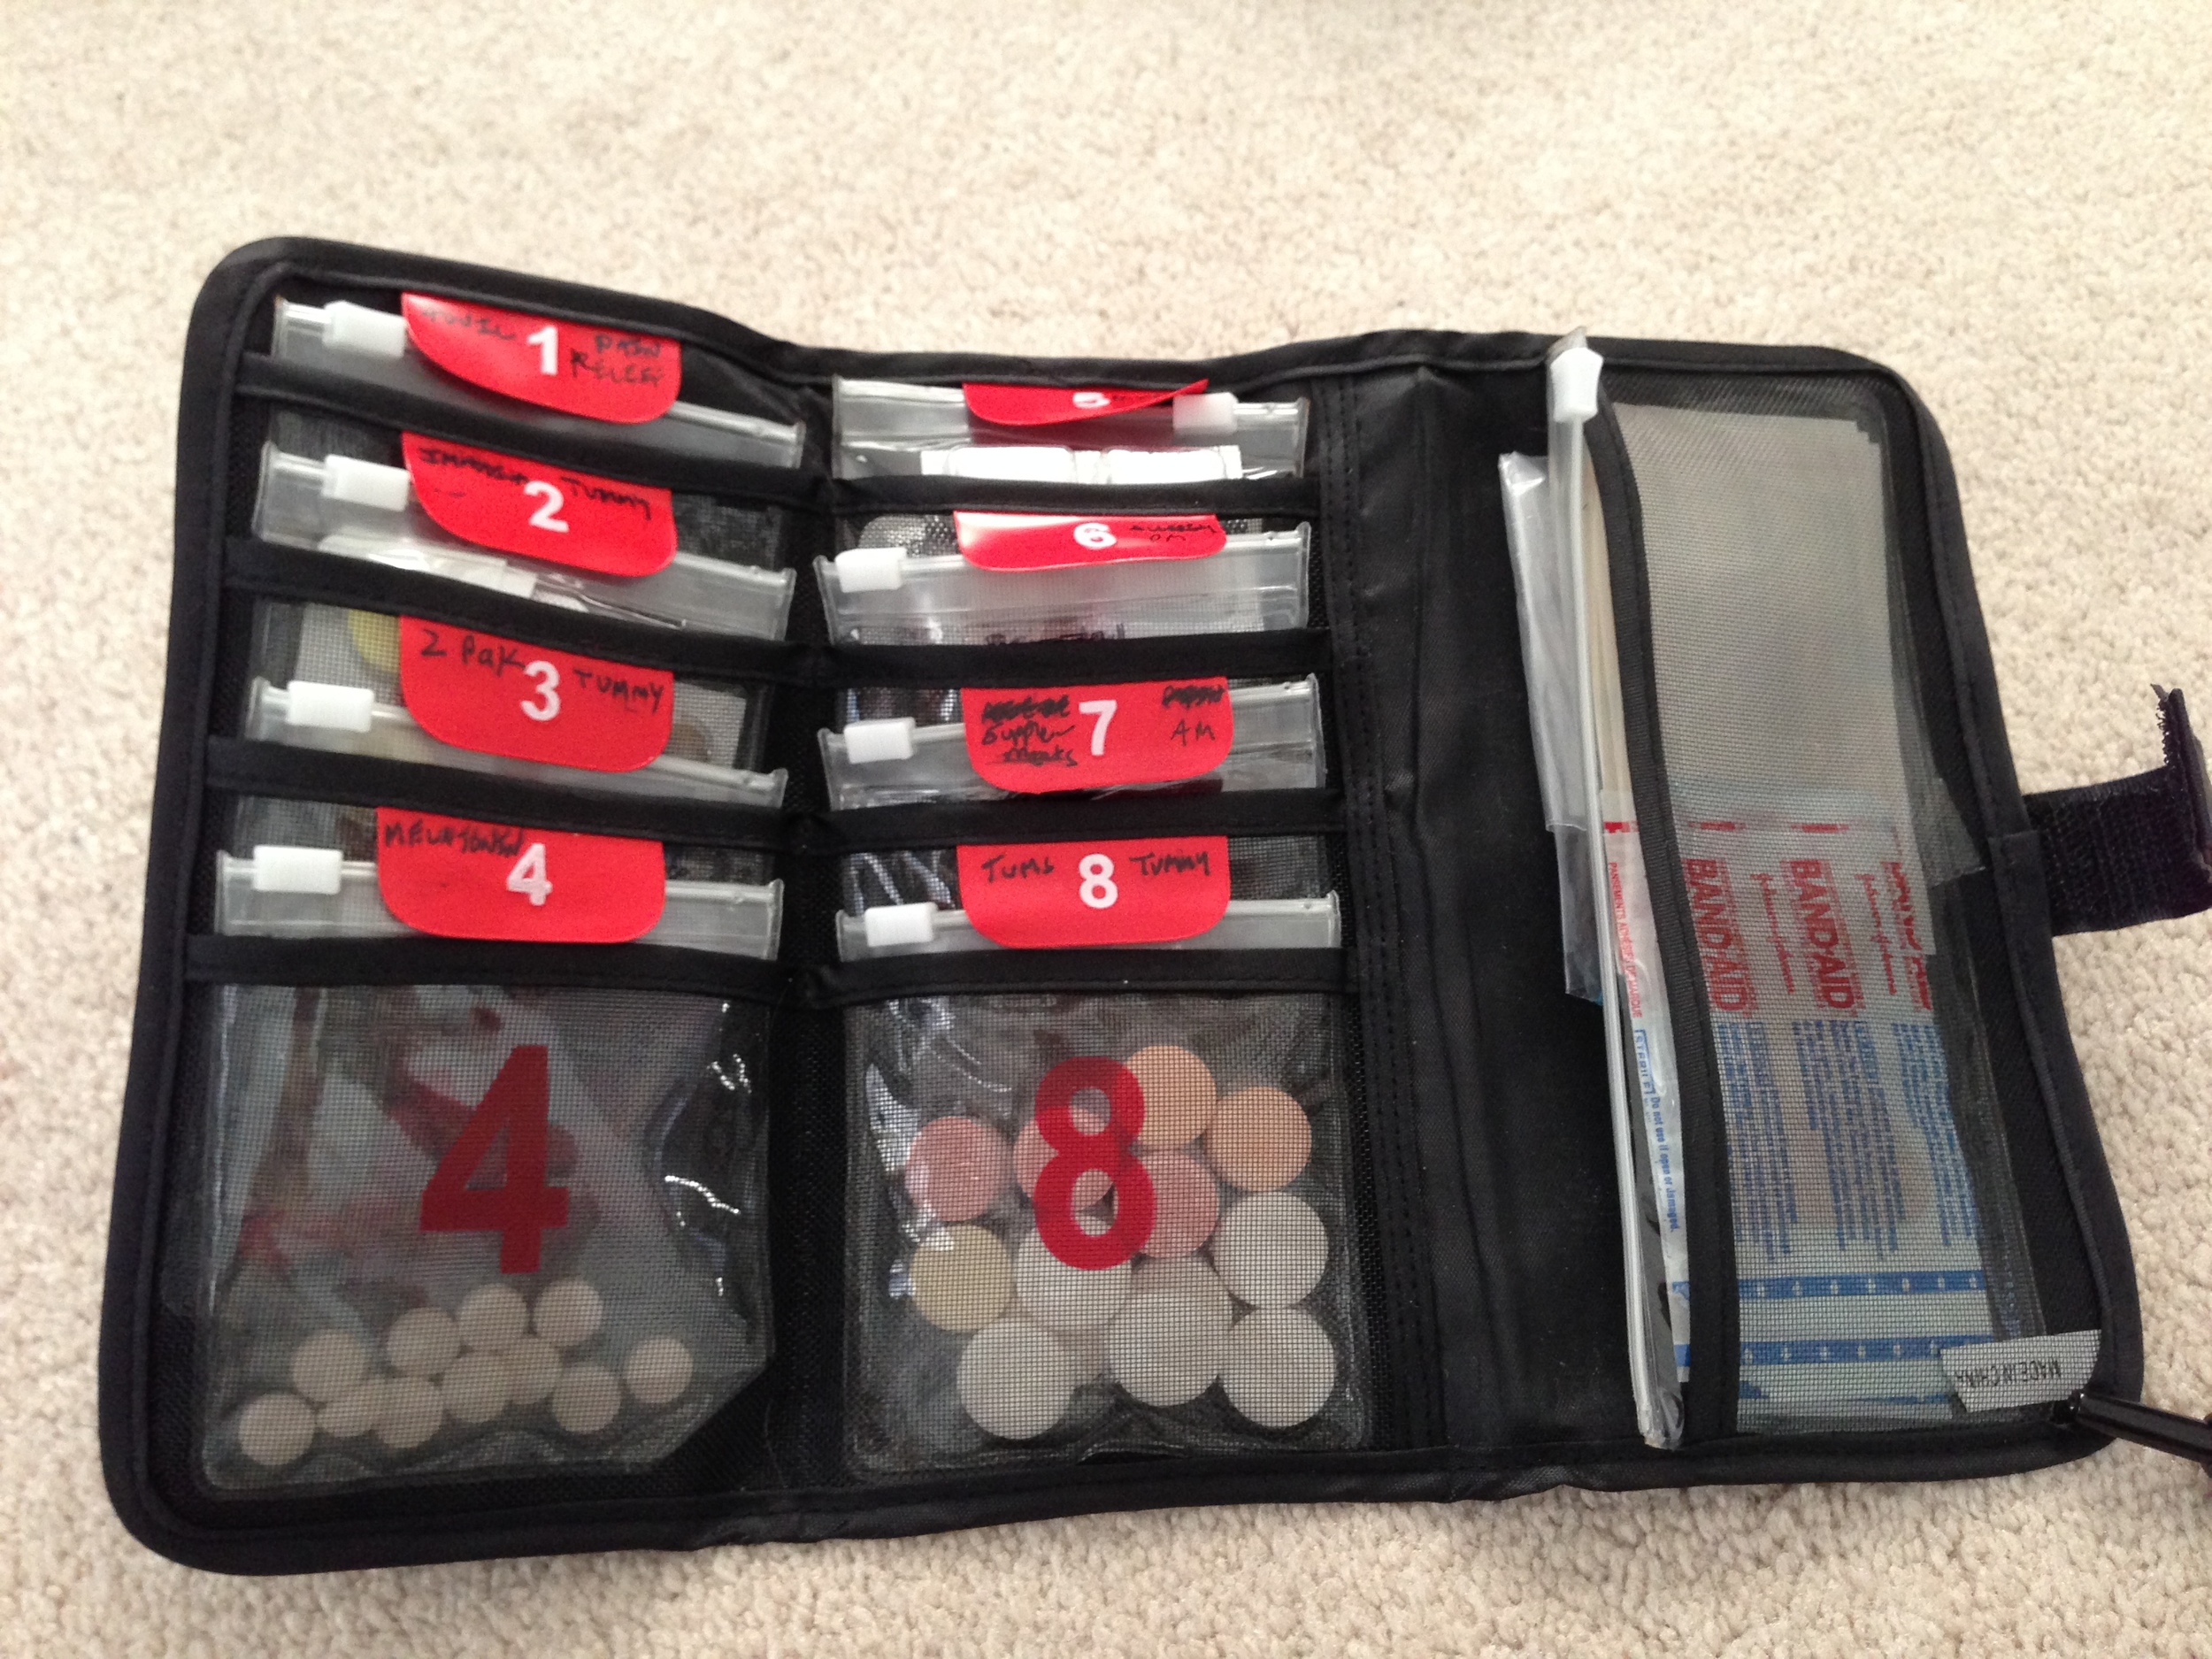
I purchased this AM/PM pill organizer from Lewis and Clark. It’s really designed for a weeks worth of pills, but I use it to organize my medical kit. (These are all products we buy ourselves and use; we have not received any compensation for mentioning brands.)

This is the 16 pouch version (two weeks) which works better when packing for the whole family
This is the one week, or 8 pouch version which works for individuals or couples.
It has individual pouches, which I organize by ailment. This proved useful, when traveling in Botswana, our youngest had some kind of tummy trouble, and I could grab the pouch and head out to her tent and have everything I needed. Since each trip back to my own tent required an armed guide escort, I wanted to limit trips when I went to check on and medicate her.

One down at Little Vumbura camp in Botswana! Thanks to our medical kit and an excellent Wilderness Safaris nurse, she wasn't down for long!
Pouch 1: Pain relief- an assortment of our preferred pain relievers, ibuprofen, acetaminophen and naproxen sodium
Pouch 2: General tummy trouble- relief for all the general travel realted tummy issues; a laxative pill, gas remedy, antacid like Tums, and stool softner
Pouch 3: Big tummy troubles- when “tourista” hits (and in all our travels it rarely has- my travel medical pro replaces my Z pak because it’s expired, not because we’ve had to use it much!) This section includes a broad spectrum antibiotic prescribed by my travel doc, enough for each person to have a 3 pill dose, if needed. Also, in the baby aisle, I found little pedialyte films in a package (like those breath strips), which will replace important minerals in the case of dehydration. They are made to slip under a small child’s tongue and dissolve, but because they take up no more room than a tiny pack of gum, they are a very efficient way to travel with electrolyte rehydration that you’d normally get in a bulky sports drink or pop. We would use them with bottled water if we had ever needed them, which fortunately, we have not! I also carry Imodium with us. Although this isn’t always recommended for tourista. Our Dr advises us about the importance of getting the “bug” out our system, which means, we have sometimes held off on Imodium and antibiotics to let “nature take its course" for the first 24 hours or so of these types of illnesses. It is there as a backstop, should things not resolve themselves! Lastly, I purchased an anti-emetic medication that is not available over the counter here, but is abroad. It was prescribed by a nurse while on our Botswana trip, and while we’ve never used it, we are happy to have it in our kit!
Pouch 4: Sleep Aids- I carry melatonin a natural supplement to help smooth out jet lag. I get sleepy with that rather than sleeping pills or alcohol, both of which are likely to make things worse rather than better for jet lag. For more info on my advice on jet lag and being comfortable on the plane see my post What In the Air is Going On Here?!
Pouch 5: Motion Sickness- Whether its small planes over Livingstone, Zambia or boats in the Galapagos…motion sickness happens! We pack Ginger gum, meclazine, and Dramamine (click here for our 4 prong attack to prevent motion sickness)
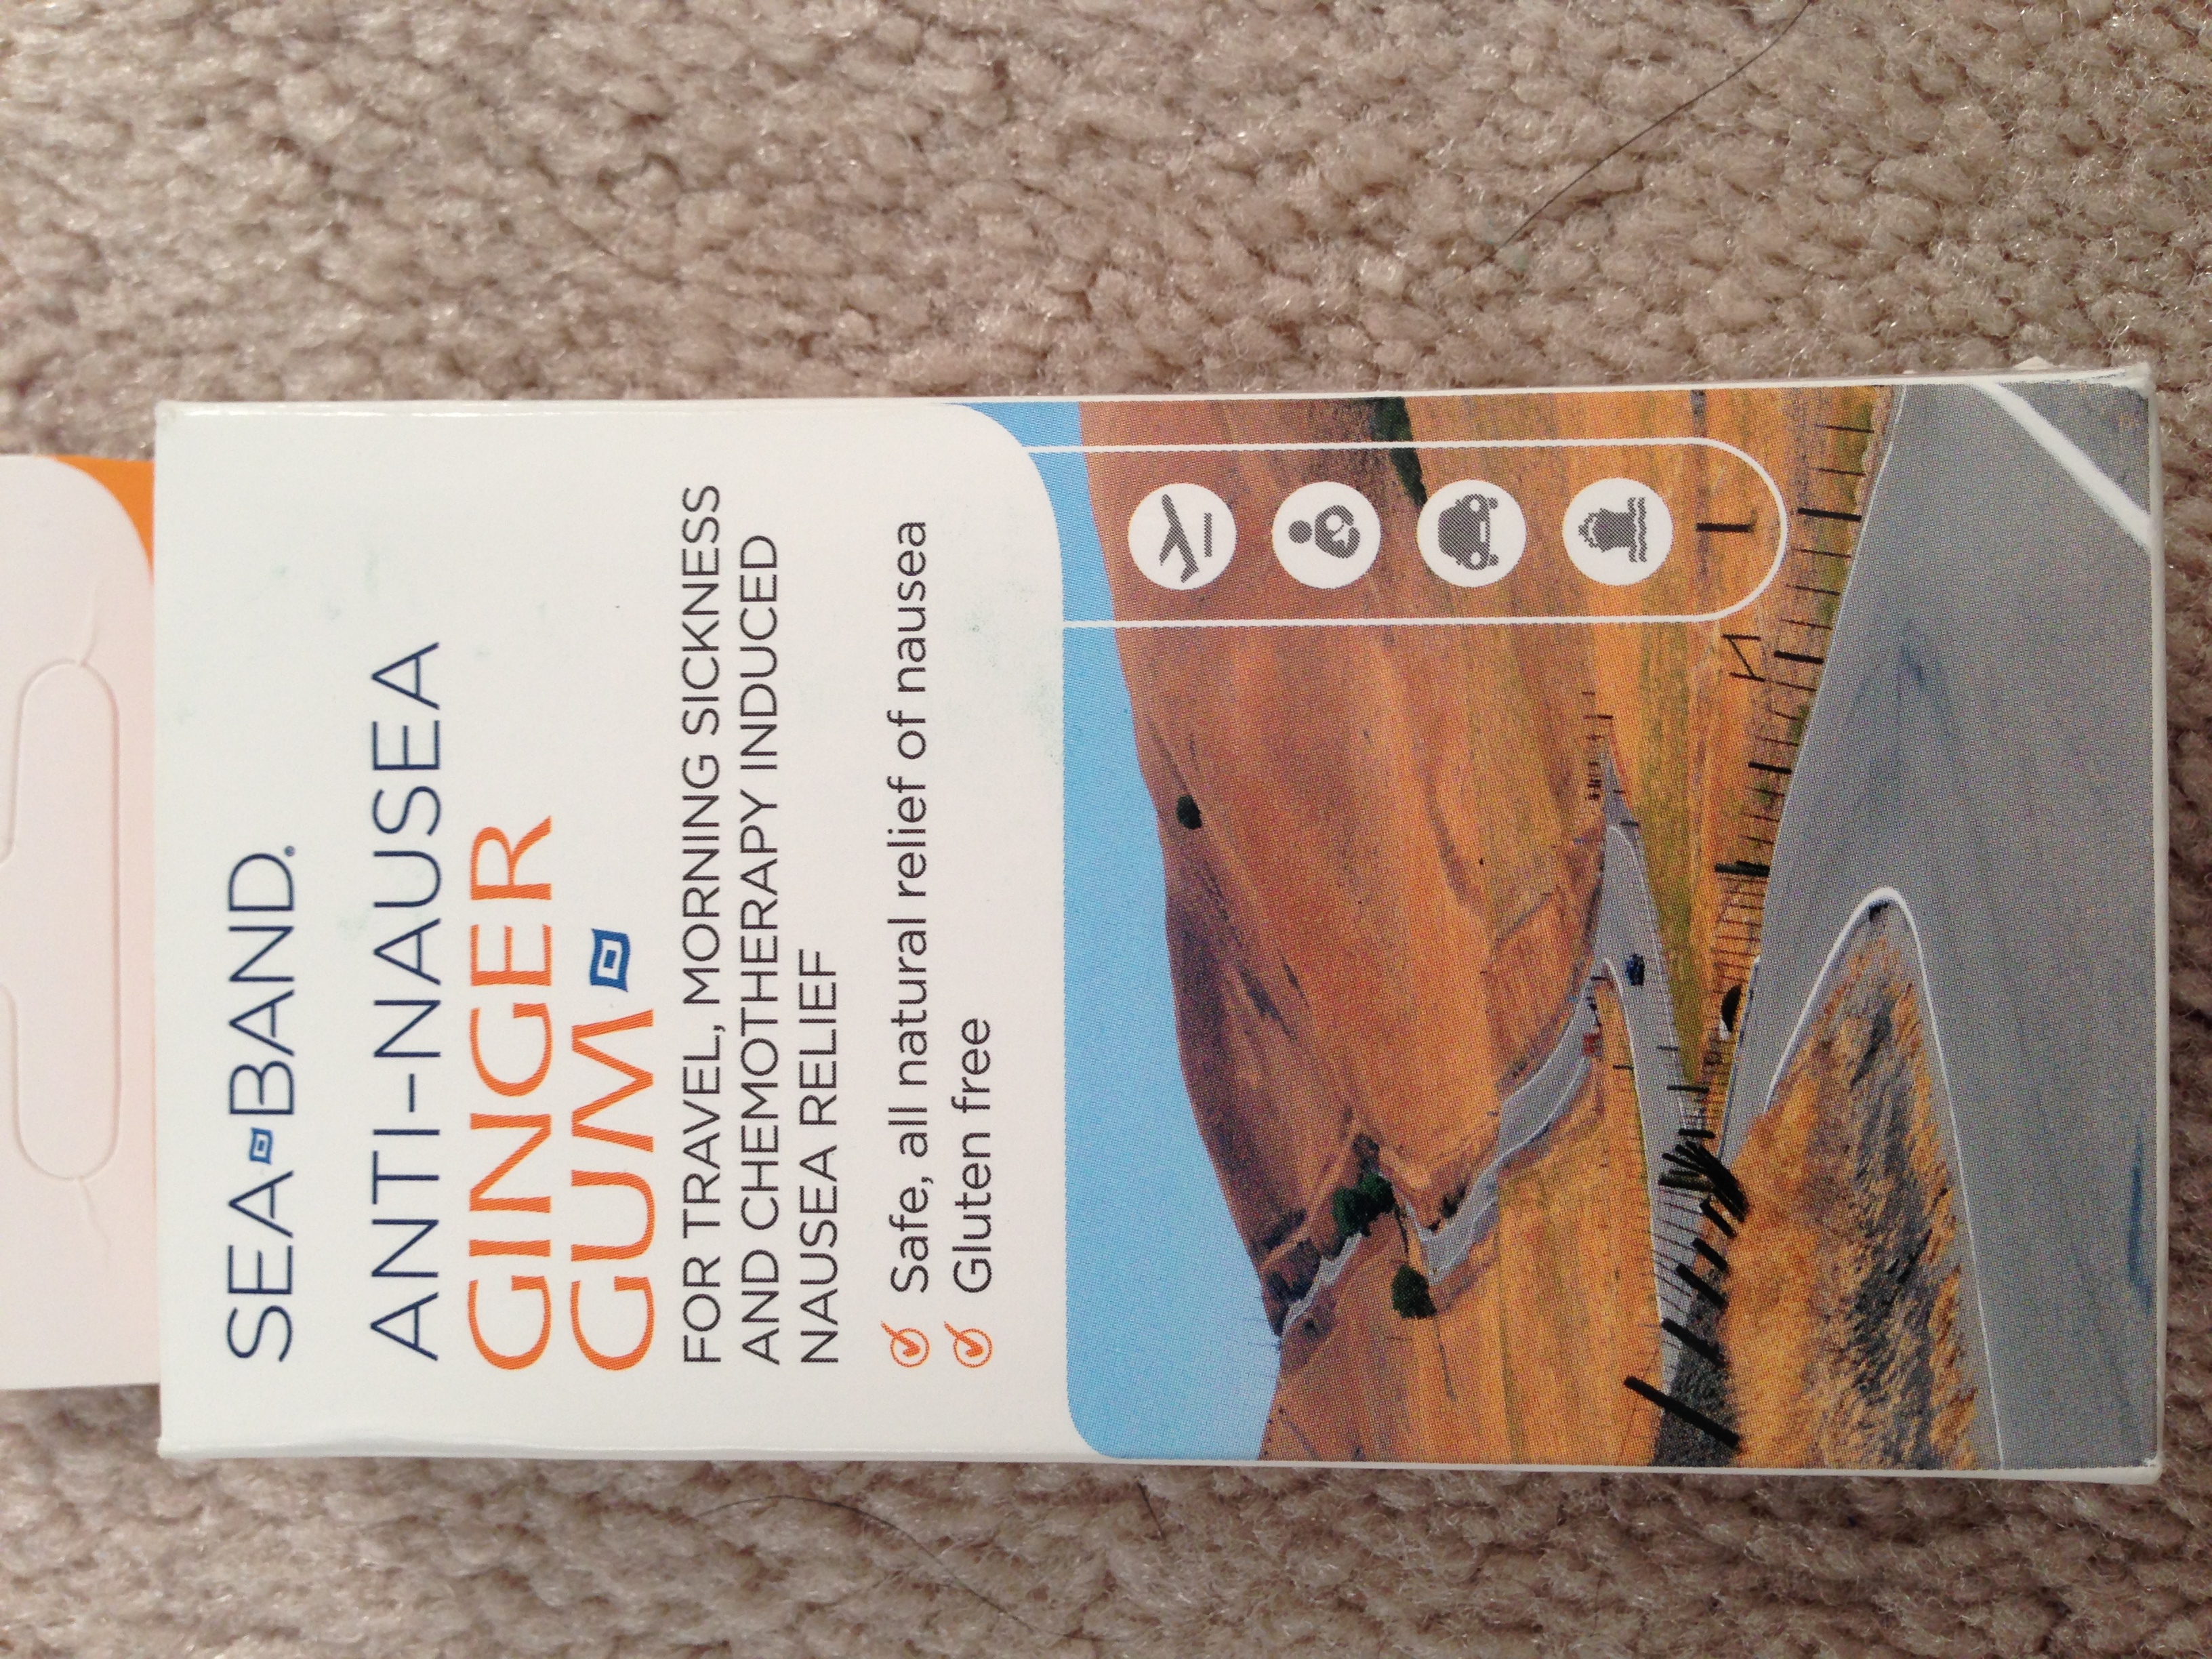
These are found in the motion sickness aisle of the drug store.
Pouch 6 and 7: Personal Medications: I carry my own morning and evening pills and supplements. Some locations require you to pack these in the original bottles if they are prescriptions. Organizing these in separate pouches allows us to take one pouch to breakfast or dinner, if the contents are to be taken with food.
Pouch 8: Cold remedies: benadryl, zinc lozenges, I carry extra tums, in another location, because they are bulky! The nasal decongestant spray has to go into the gel bag. I also carry a handful a zinc lozenges in my general toiletry kit because they are little bulky for the small pouches, but I find they do help me avoid the full force of a head cold if I start taking them at the first sign of a tickle in my throat!
Along the right side of my pill wallet: is a flap large enough to carry a few bandaids, blister bandaids, and paperwork for any prescription medications. I have NEVER had anyone official check my pills in any of my travels, but technically prescriptions require a label and I find it easier to travel with a note or copy of our prescription label (the pharmacist can print an extra label) instead of carrying all the original bottles around.
In my liquids and gels bag: These items are part of our kit but in order to carry them on board the airplane, they need to be in the quart bag. I always recommend carrying on your medical kit and medicines, as they are one thing you do not want to be without should a bag get lost or a flight delayed.
-antibiotic cream
-cortisone cream
-tears or eyedrops
-oral anesthetic for braces disasters or kanker sores
-nasal decongestants, (which are to be used sparingly or risk rebound effects, but during a bad cold they help us sleep through the night for a couple of nights)
-anti fungal or yeast medicine

I keep my "liquid" first aid in my gel bag to show at TSA, but in their own small bag so they can join the first aid kit once I arrive at my destination.
In my general toiletry kit: I pack insect spray and sun screen. In many places the sun is the biggest travel trouble most people have! If you are like me, you will probably never even open the rest of the kit, but the sun screen is the one thing you might use every day! This also needs to be packed into the gel bag (I use sample sizes and back that up with larger quantities in the checked baggage or buy it at my destination if needed.)
Step 3: Pack a “go kit” for day trips and outings
Most of the items in my travel first aid kit are a back stop if things go bad, if we are really ill, we are likely to break off touring and head back to the room where we can access the kit. But it’s bulky to carry everywhere during day touring, so I’ve created a tiny “go kit” that fits in my back pack (or evening bag!) with a few remedies that will help with troublesome, but not day ending problems. A couple of pain relievers for sore feet or headaches, a benedryl in case a food, plant or insect touches off an allergic reaction, a couple of Imodium to help stave off any issues until we can reach a toilet, some ginger gum and meclizine in case any part of our tour gets us feeling queasy. Add to this a couple of band aids and blister band aids, a few packets of bug repellent wipes and sunscreen in our day bag, and we pretty much ready for anything!
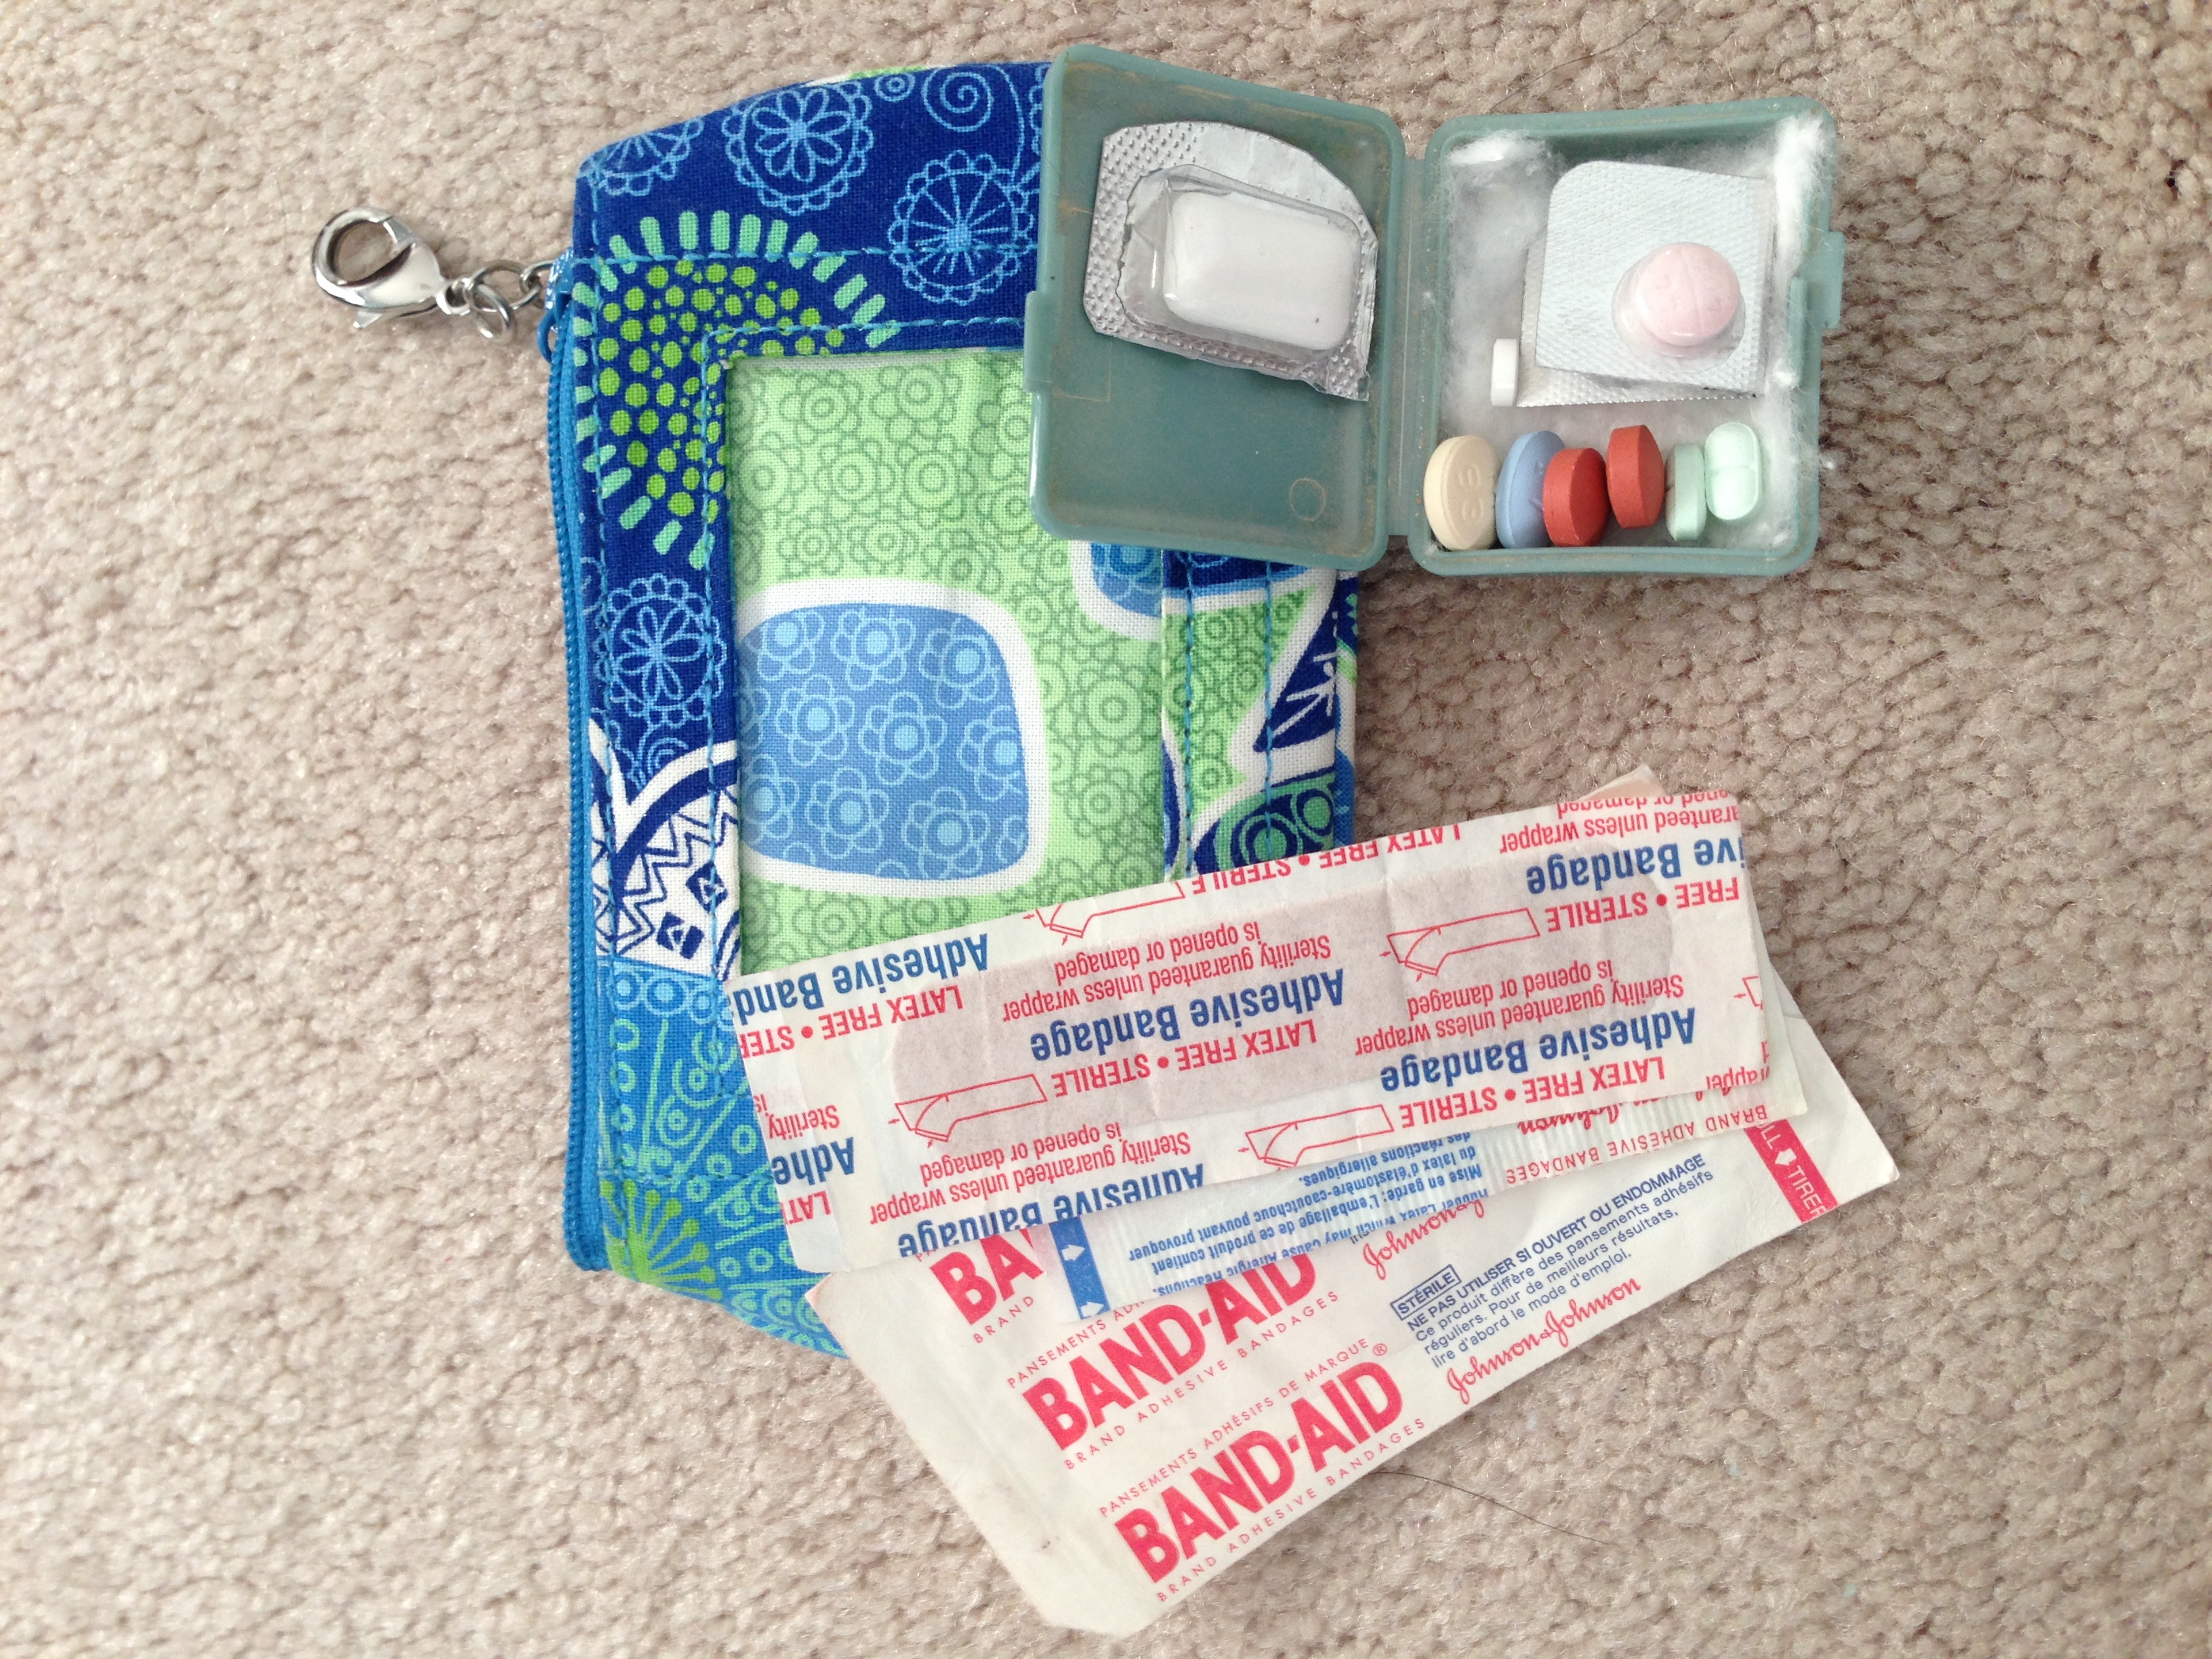
My go kit is tiny, it fits inside a small travel wallet along with a few bandaids. The clip wallet can attach to a belt loop for places where you don't want to carry a whole day pack. If you can't remember which pills are which, just put a photo in your phone with the names under each!
Step 4: Medical and Evacuation Insurance
I make sure my medical coverage covers me out of the country, and or that I have purchased both medical and/or medical evacuation insurance.
Some trip providers coverage or require it up front, on other trips our TA might recommend a supplier. Or you might do what I do which is get a quote from the travel provider and then compare that to plans I can get on Insuremytrip.com. In a future post, I'll share more details about what I look for in travel insurance.
Step 5: Important Phone Numbers
Lastly, I always make sure I have the numbers and addresses for the local embassy and a hospital where it’s safe and allowed for foreigners to be treated. Luck has been on our side, and we’ve never needed this, but having these numbers in my travel documents means I don’t have to panic if the worst case scenario were to happen.
Expect the best...prepare for the worst!! Bon Voyage!
Please share with us any great travel health tips you have!